

Card Catalog, but Make it JavaScript
March 9, 2024
Let's build a tool to scan ISBNs right in the the browser using our camera and get back a bunch of data about the books.
I recently stumbled upon the Barcode Detection API. It’s exactly what it sounds like: a browser-native way of detecting barcodes. I was immediately excited about the possibilities and felt compelled to build something to demo it. My first thought was books. I have too many a lot of books in my house that need to be inventoried. And since ISBN numbers are on pretty much all books and are (usually) represented as a barcode, books seem perfect for this demo.
This is an edited version of an article written as part of my interview process for the DXE role I held at Chromatic from 2023-2024. I’d already built the app I based the demo on and just had to write the post as the final blogging “test” of the interview process.
The Barcode API works by taking an image (see the docs on MDN for more specifics; there are a lot of image object options) and then detecting any barcodes present in the image. So, as a first step, I needed a way to take in images. Webcams to the rescue.
Accessing a webcam from the browser is pretty straightforward using navigator.mediaDevices.getUserMedia(). If you search how to do it, every solution uses more or less the same boilerplate. We’ll replicate some of that here.
Quick caveat: I started with a fresh install of Create React App (npx create-react-app library-demo) and will be working within that directory structure. I'll also be writing React as well as vanilla JavaScript. Follow along or grab my final code from the link above.
We know we need an image to get a barcode, so let’s start by defining a component to handle that. Create a new file in a src/components directory. I'm calling mine ImageCapture.jsx and the component ImageCapture, but it can be anything that makes sense to you. Next, we need a place for the webcam feed to go once we have access to it. I'm going to use a video element for this, so let's start with that:
// src/components/image-capture.jsx
export default function ImageCapture() {
    const VideoPlayer = ( )=> <video className="player"/>;

    return (<VideoPlayer/>)
}
So far we just have a standard HTML video tag with a class on it (for later styling). But to get the video feed from the webcam, we need a way to access the DOM node directly (rather than the React component), so we'll define and use a ref for the component:
// src/components/image-capture.jsx
import { useRef } from 'react';

export default function ImageCapture () {
  const videoRef = useRef(null);
  const VideoPlayer = () => <video ref={videoRef} className="player" />;

  return (<VideoPlayer/>)
}
Now we’re ready for the webcam and the navigator.mediaDevices.getUserMedia() boilerplate. One note here: since we’re in React, we’re using the videoRef we defined earlier to access the video element in the DOM, rather than querying the DOM directly with querySelector() or something similar. And since grabbing an element from the DOM is a side effect, we’re wrapping that code in the React useEffect() hook. The code inside useEffect will only run after the render is complete, so we can safely grab the video in the DOM and pipe the webcam feed in there. We’ll add this just above the return statement:
// src/components/image-capture.js
[...snip...]

useEffect(()=>{
  // get the camera feed going
  navigator.mediaDevices.getUserMedia({ video:true, audio:false})
    .then((stream)=>{
      let vid = videoRef.current;
      vid.srcObject = stream;
      vid.addEventListener('canplay',()=>{
        vid.play();
      });
    })
    .catch(err => {
      console.error(`🚨 error getting camera feed!`,err);
    })
  },[videoRef]);
}
Note that the videoRef has been added to the dependencies array ([videoRef]) that is the second argument to useEffect(). This ensures that we’re only running this code if the videoRef changes.
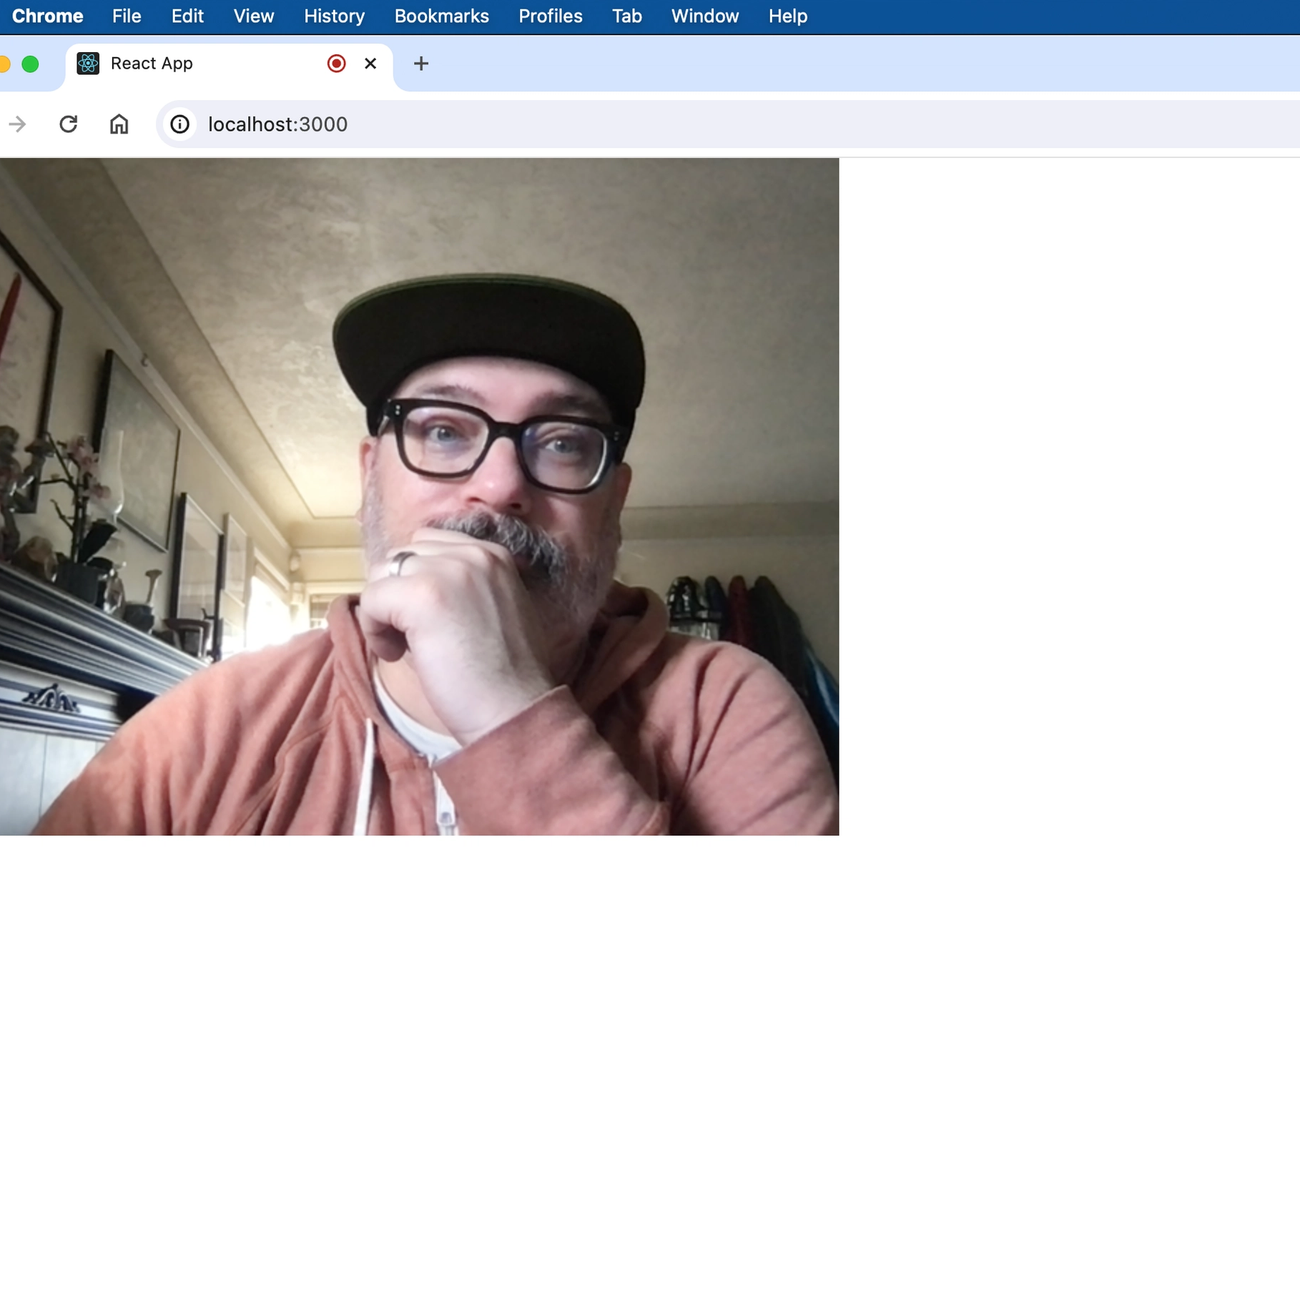
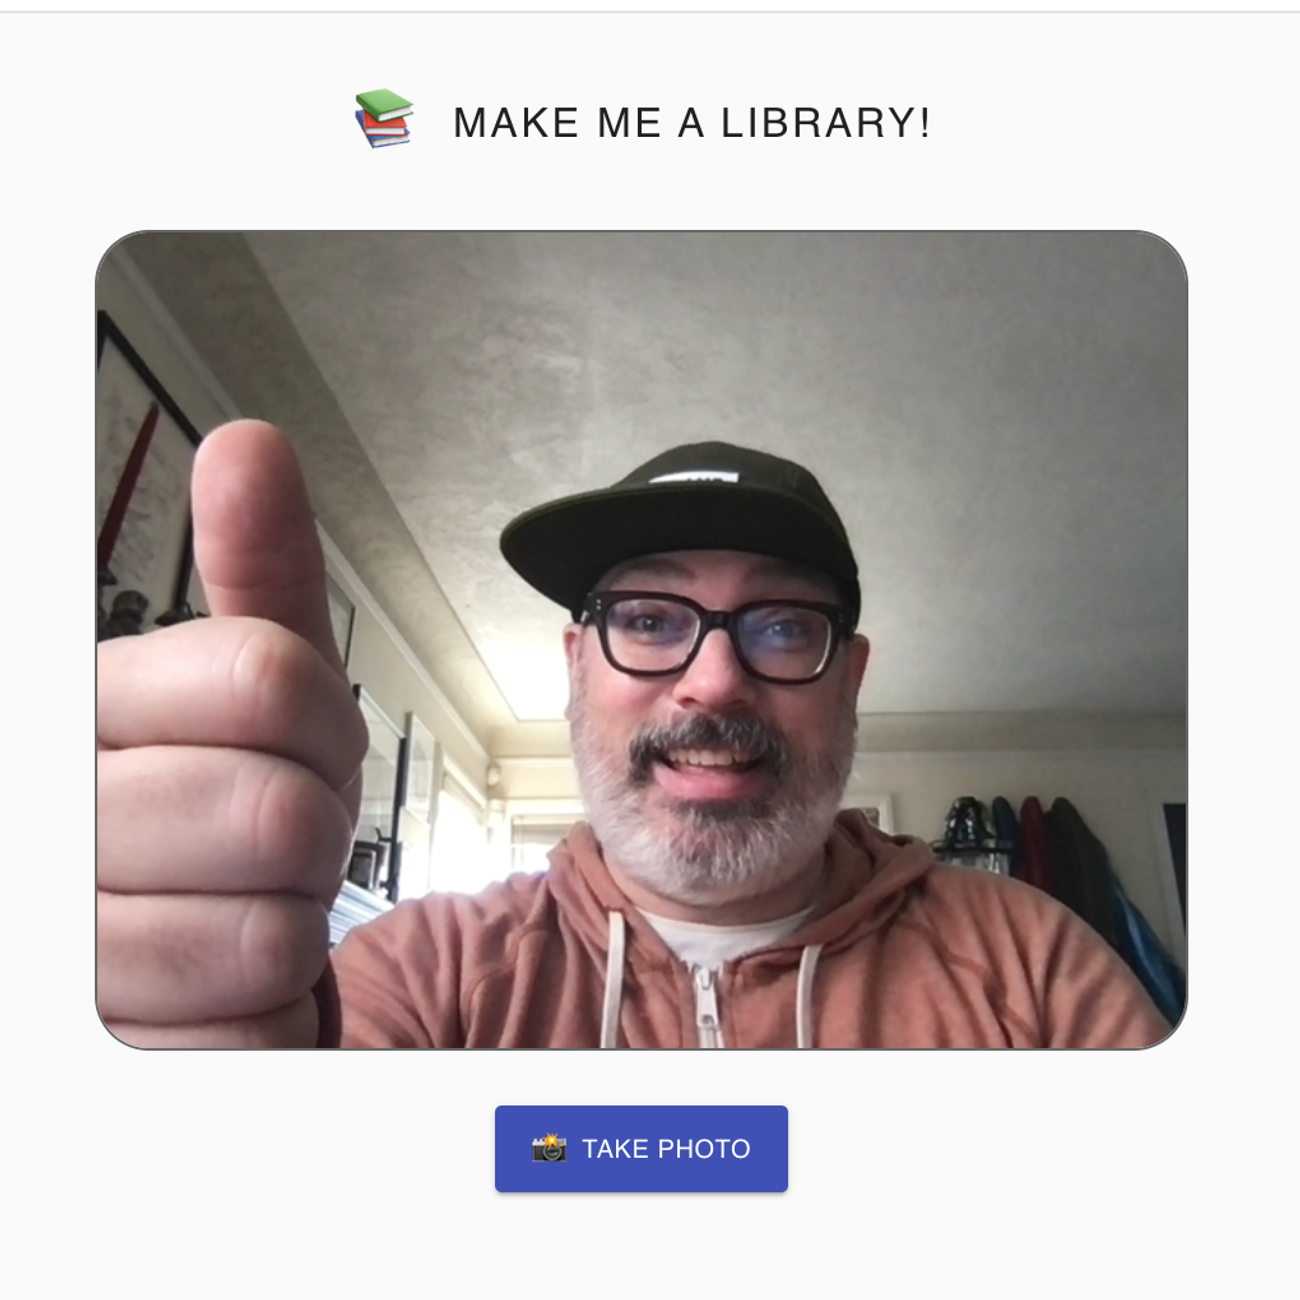
We now have access to the user’s camera and have it piped to the screen:
Next we need to get the raw camera feed and pipe it into a canvas element, as that’s how we’re going to get the image we need to detect barcodes. (That’s a lot of future steps, but it’ll make sense as we move through it.) This step is a little longer, so let’s look at the code first then I’ll walk through it:
// src/components/image-capture.js
import {useEffect, useRef} from 'react';

export default function ImageCapture() {
  const videoRef = useRef(null);
  const canvasRef = useRef(null);

  const VideoPlayer = () => <video ref={videoRef} className="player"/>;
  const PhotoCanvas = () => <canvas ref={canvasRef} className="photo"/>;

  function paintToCanvas() {
    // 1
    let vid = videoRef.current;
    let canvas = canvasRef.current;

    // 2
    let ctx = canvas.getContext("2d");

    //3
    let width = vid.videoWidth;
    let height = vid.videoHeight;

    // 4
    canvas.width = width;
    canvas.height = height;

    // 5
    return setInterval(() => {
      ctx.drawImage(vid, 0, 0, width, height);
    }, 60);
  }

  useEffect(() => {
    // get the camera feed going
    navigator.mediaDevices.getUserMedia({ video: true, audio: false })
      .then((stream) => {
        let vid = videoRef.current;
        vid.srcObject = stream;
        vid.addEventListener('canplay', () => {
          vid.play();
          paintToCanvas();
        });
      })
      .catch(err => {
        console.error(`🚨 error getting camera feed!`, err);
      })
    }, [videoRef]);
  }

  return (
    <>
      <VideoPlayer />
      <PhotoCanvas />
    </>
  )
}
Ok, let’s start at the top. First, we define a new canvas element—const PhotoCanvas—and add another ref to it—canvasRef—just as we had with the video. Next, we define a paintToCanvas() function. What this function does is:
- set some variables for the canvas and video DOM nodes (using
ref.current) and… - …the 2D context of the canvas using
getContext("2d"), which is part of the canvas API. This just allows us to draw an image on the canvas. Or, in this case, drop an image in there. - grab the height and width of the video stream. These values aren’t the height and width of the video element in the browser, but the dimensions of the video feed being provided by the camera.
- take the dimensions from #3 and set the canvas height and width to match. This ensures our image is going to have the same resolution and aspect ratio as the video. Which is to say, it keeps things from looking wonky.
- we then update the canvas every 60 milliseconds with a single frame from the video. We’re effectively recreating the video feed in the canvas, but doing it one frame at a time inside a
setIntervalso it's not too taxing on the browser. You can change the timing on this, but I found that anything above 60 milliseconds was too choppy and anything below 60 didn’t amount to much change in quality. Play with it until you find what works for you. - call the function we just wrote inside a
useEffect. We’re using thecanplayevent listener added to the video.
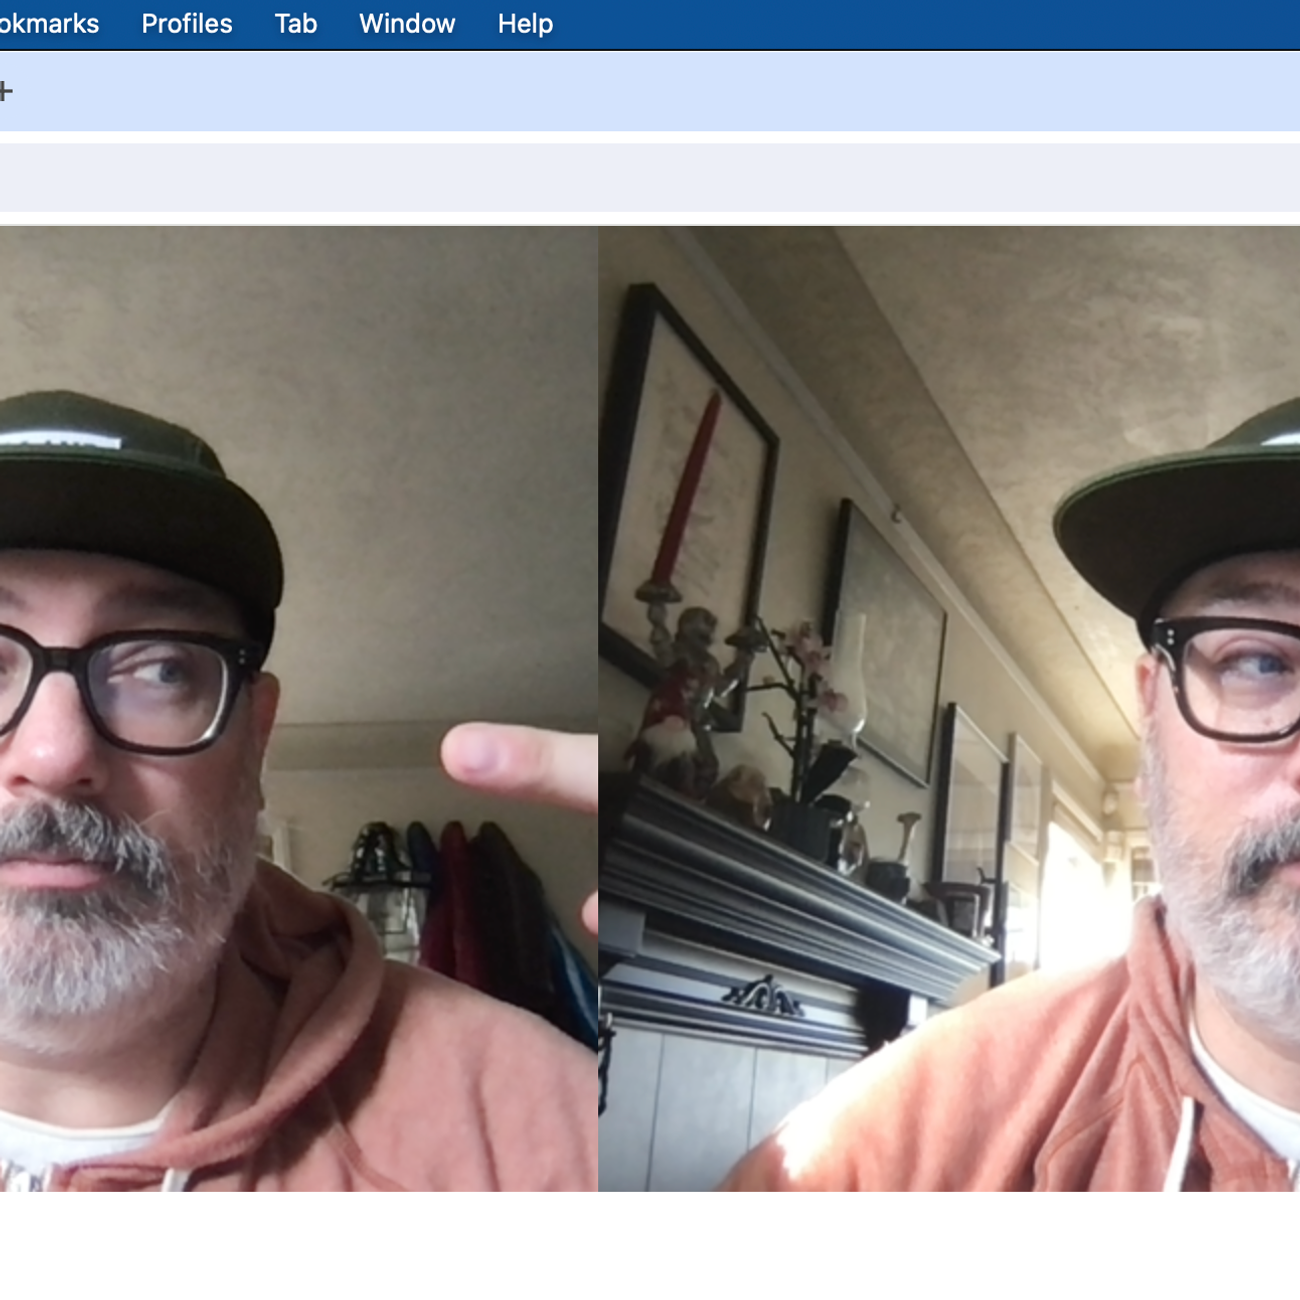
At this point we have everything in place to use the Barcode API. But there's two of us. Let’s take care of that first by hiding the one we don't need, VideoPlayer, with some CSS:
const vidStyles = {
  position: "absolute",
  top: "0",
  right: "0",
  opacity: "0",
};
const VideoPlayer = () => (
<video ref={videoRef} className="player" style={vidStyles} />
);I’ve just absolutely positioned the element into the top right corner of the screen and set the opacity to zero. That’s enough for our purposes.
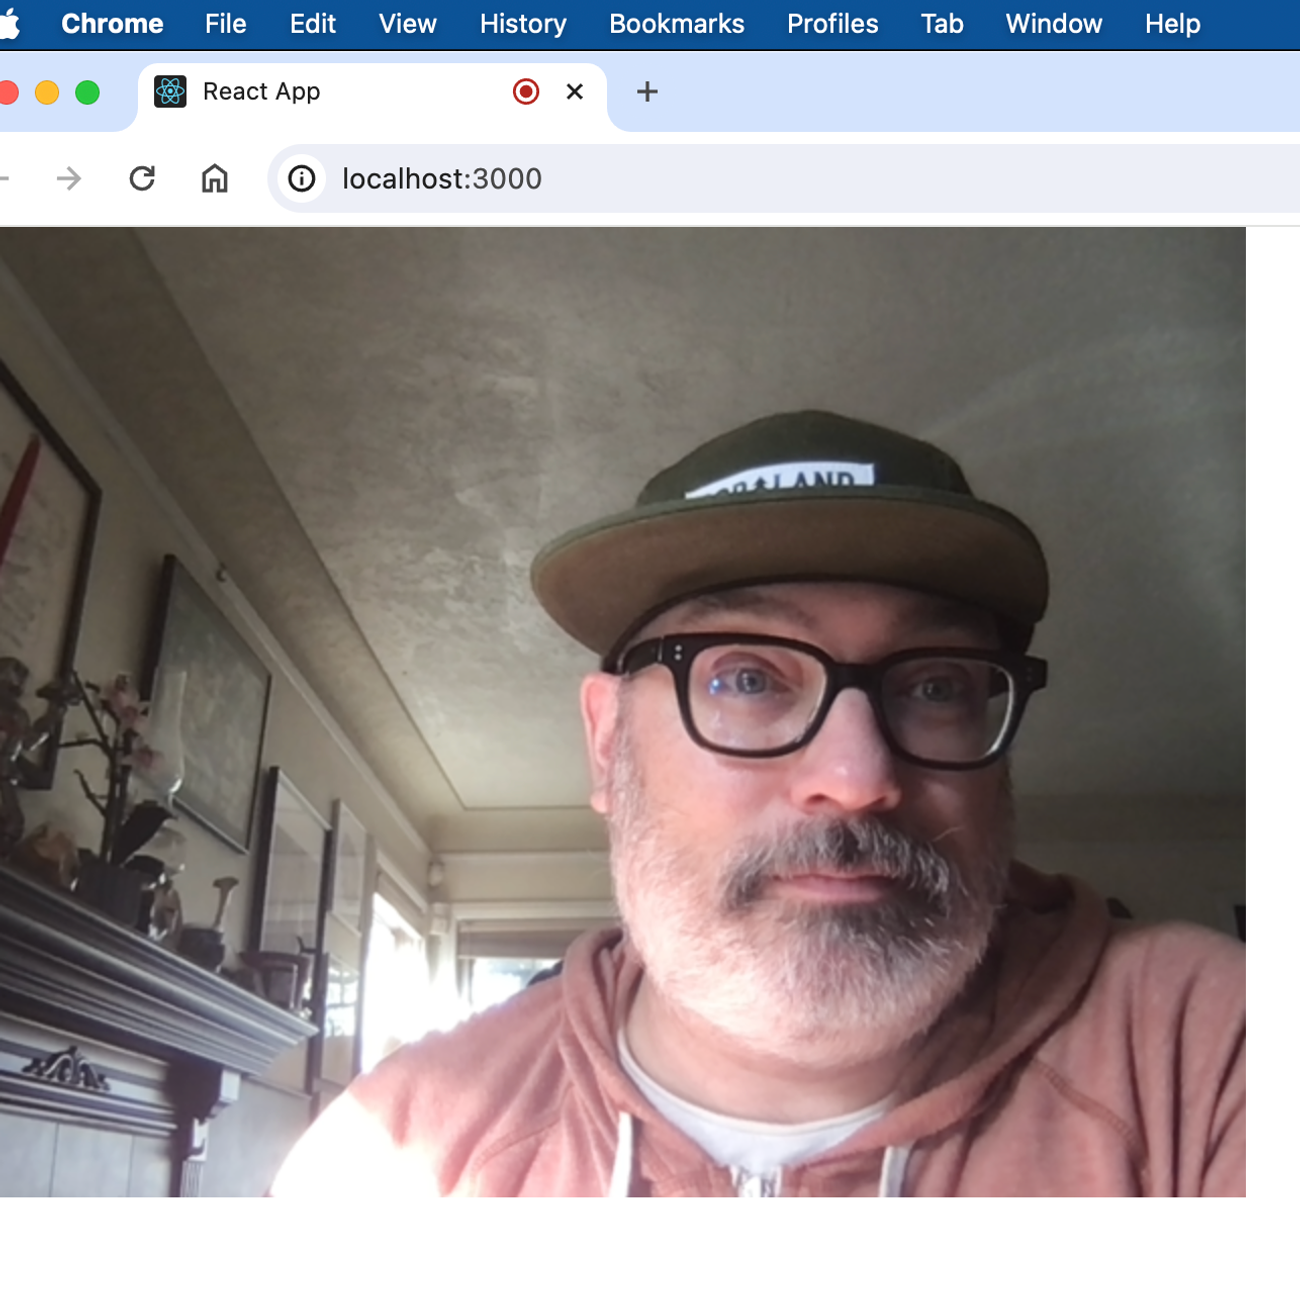
Now we only have one of me staring back at us from the browser. Perfect.
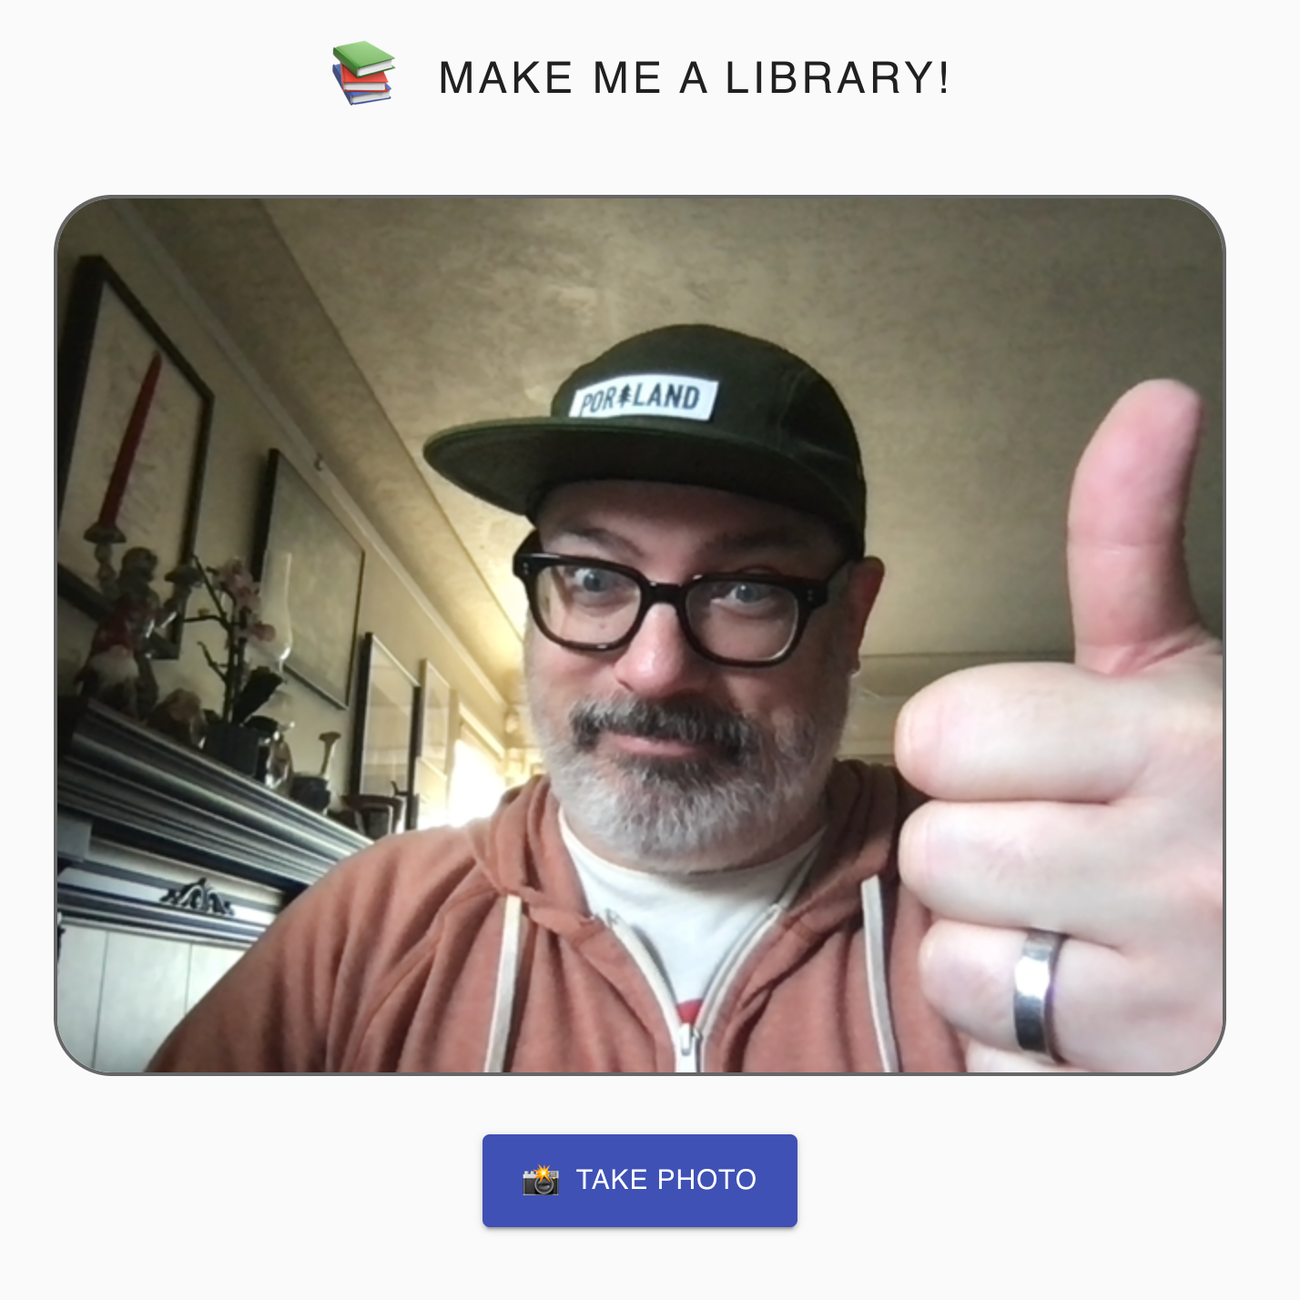
But I’d also like to be able to determine when I’m ready to test for the barcode, so let’s add a button to take a photo:
import Button from "@mui/material/Button";
[...snip...]
const TakePhotoButton = () => {
return (
<Button
variant="contained"
size="large"
color="primary"
type="button"
onClick={getBookDataFromPhoto}
style={{ maxWidth: 'calc(50%-2rem)', margin: '2rem auto' }}
>
<span
style={{ fontSize: '1.25rem' }}
role="img"
aria-label="camera flash emoji">
📸
</span>
Take Photo
</Button>
)
};I'm using Material UI for some easy styling; you can define and style the button however you want, of course. But however you do define it, the important thing to include is the onClick handler, getBookDataFromPhoto. We haven't written it yet, but the getBookDataFromPhoto function really does all of the heavy lifting for this project.
When a user clicks the TakePhotoButton, getBookDataFromPhoto will then grab an image from the canvas element, pass that image information to the Barcode API and, if possible, retrieve an ISBN, then pass that ISBN to the Open Library Books API to retrieve information about the book, and finally take that book information and print it to the screen. There’s obviously a lot happening there, so let's take it in pieces.
function getBookDataFromPhoto(){
  let canvas = canvasRef.current;
  let isbn = null;

  // get img data from canvas
  const data = canvas.toDataURL('image/jpeg', 1.0);

  // create and append image to DOM
  const image = document.createElement('img');
  image.src = data;
  image.setAttribute('hidden', 'true');

  document.body.appendChild(image);
}
First, we set a couple variables: one for the canvasRef, just for brevity, and another we’ll use to add ISBN data to later.
Next, we get the image data out of the canvas. toDataURL is part of the canvas API and will give us a data URL of a single frame from the canvas. A data URL is basically a huge, hashed, hexadecimal string representing the image. They’re super ugly but computers know what to do with then, which is really all that matters.
We then take that data URL and create an <img> element, setting the data URL as the src value. We set it to be hidden so as not to ugly things up, then attach it in the DOM.
Next up, we need to add a callback to the onload event of the image we just added to the DOM. This code goes immediately below where we left off, after the document.body.appendChild(image) line:
image.onload = () => {
  if('BarcodeDetector' in window) {
    // check supported types & add to formats array
    window.BarcodeDetector.getSupportedFormats()
    .then((supportedFormats) => {
      let formats = [];
      supportedFormats.forEach((format) => formats.push(format));

      return formats;
    })
    .then((formats) => {
      // create new detector with supported formats
      const barcodeDetector = new window.BarcodeDetector(
        {formats:formats}
      );

      […snip…]
    })
  } else {
    alert('Barcode Detector API is not supported in your browser. 😔');
  }
}
Inside this callback, we start by checking to see if the browser supports the Barcode Detection API. If it does, it will be on the window object as BarcodeDetector. The Barcode API is still experimental and is currently only supported in Webkit browsers (Chrome, Opera, Edge, etc.), and even then, only partially. Safari and Firefox haven’t implemented any of the API yet. But what’s available in Webkit is enough for us. And since this is a demo/personal project, no worries. Anyway, once we know it’s supported in our browser, we can check which barcode formats are supported. There are about a dozen or so barcode formats that the API can identify, but support for them changes browser-to-browser. getSupportedFormats() returns a Promise, so in a chained then() below it, we can take the returned formats, create an array, then pass that array to a new instance of BarcodeDetector as part of the options object parameter.
Let’s look at the rest of the function, starting where we left off at the new window.BarcodeDetector instantiation:
image.onload = () => {
  if('BarcodeDetector' in window) {
    […snip…]

    .then((formats) => {
      // create new detector with supported formats
      const barcodeDetector = new window.BarcodeDetector(
        {formats:formats}
      );

      try {
        barcodeDetector.detect(image)
          .then((barcodes) => {
            if(barcodes.length === 0){
              enqueue Snackbar('😬 Didn’t find a barcode. Try again!', {
                autoHideDuration: 5000,
                variant:'error',
              });
             } else {
               isbn = barcodes[0].rawValue;

               […snip…]
             }
           });
         } catch(err) {
           // if the imgData is invalid, a DOMException will be thrown
           console.error('Barcode detection failed:',err);
         }
    })
  } else {
    alert('Barcode Detector API is not supported in your browser. 😔');
  }
}
After we get the BarcodeDetector set up, we can add a try/catch block to get a barcode from the image. The Barcode API has a detect method that returns a Promise containing an array of barcodes it has detected in the image passed to it. If we don’t get anything back, it usually means the API couldn’t find a barcode. In building and using this app, I found that detect() is pretty finicky—if the barcode is at all blurry or not close enough to the foreground of the image, it failed to detect anything.
The if (barcodes.length === 0) statement is looking for those instances when the API doesn’t find a barcode. Because this is just for personal use, I’ve handled that by popping up a notistack snackbar with some appropriate messaging. You can handle it in whatever way seems appropriate for your use case.
When the API does return a value, it comes as an array of objects that includes the bounding box and positioning of the barcode in the image, the format of the barcode, and finally, the raw value of the barcode. In all of my testing, the array was a collection of the same objects with slightly different positioning coordinates, so I made the decision to just focus on the first item in the array and pluck out the rawValue item (isbn = barcodes[0].rawValue;), as I’m making the assumption that is the ISBN value that I want. (Again, if you weren’t building something for your own personal use, you might make some different decisions here.)
At this point, we’ve gotten an ISBN value by holding a book up to our camera. This is exciting! But now we need to do something with that number. Let’s pick up where we left off:
image.onload = () => {
  […snip…]
  } else {
  isbn = barcodes[0].rawValue;

  // get book data if we actually have an isbn
  if (isbn) {
    getRawBookData(isbn)
    .then((data) => {
      return shapeBookData(data, isbn);
    })
    .then((bookInfo) => {
      tableDataCopy.push(bookInfo);
      setTableData(tableDataCopy);
    });
  }

  document.body.removeChild(image);
}
So, stepping through it, we take our raw ISBN value and pass it to a new function (that we haven't written yet 🙂) called getRawBookData. This function will take in the ISBN value and make a fetch call to the Open Library API, returning a Promise with whatever data it gets back. Once we get the data back, we pass it to another new function called shapeBookData, which will pull out the values we care about from the JSON payload we receive from the Open Library call. We'll take that data and display it on the page in a table. And, finally, we can remove the image we created from the DOM, since it’s no longer needed.
If you look at the browser now, you'll see some errors:
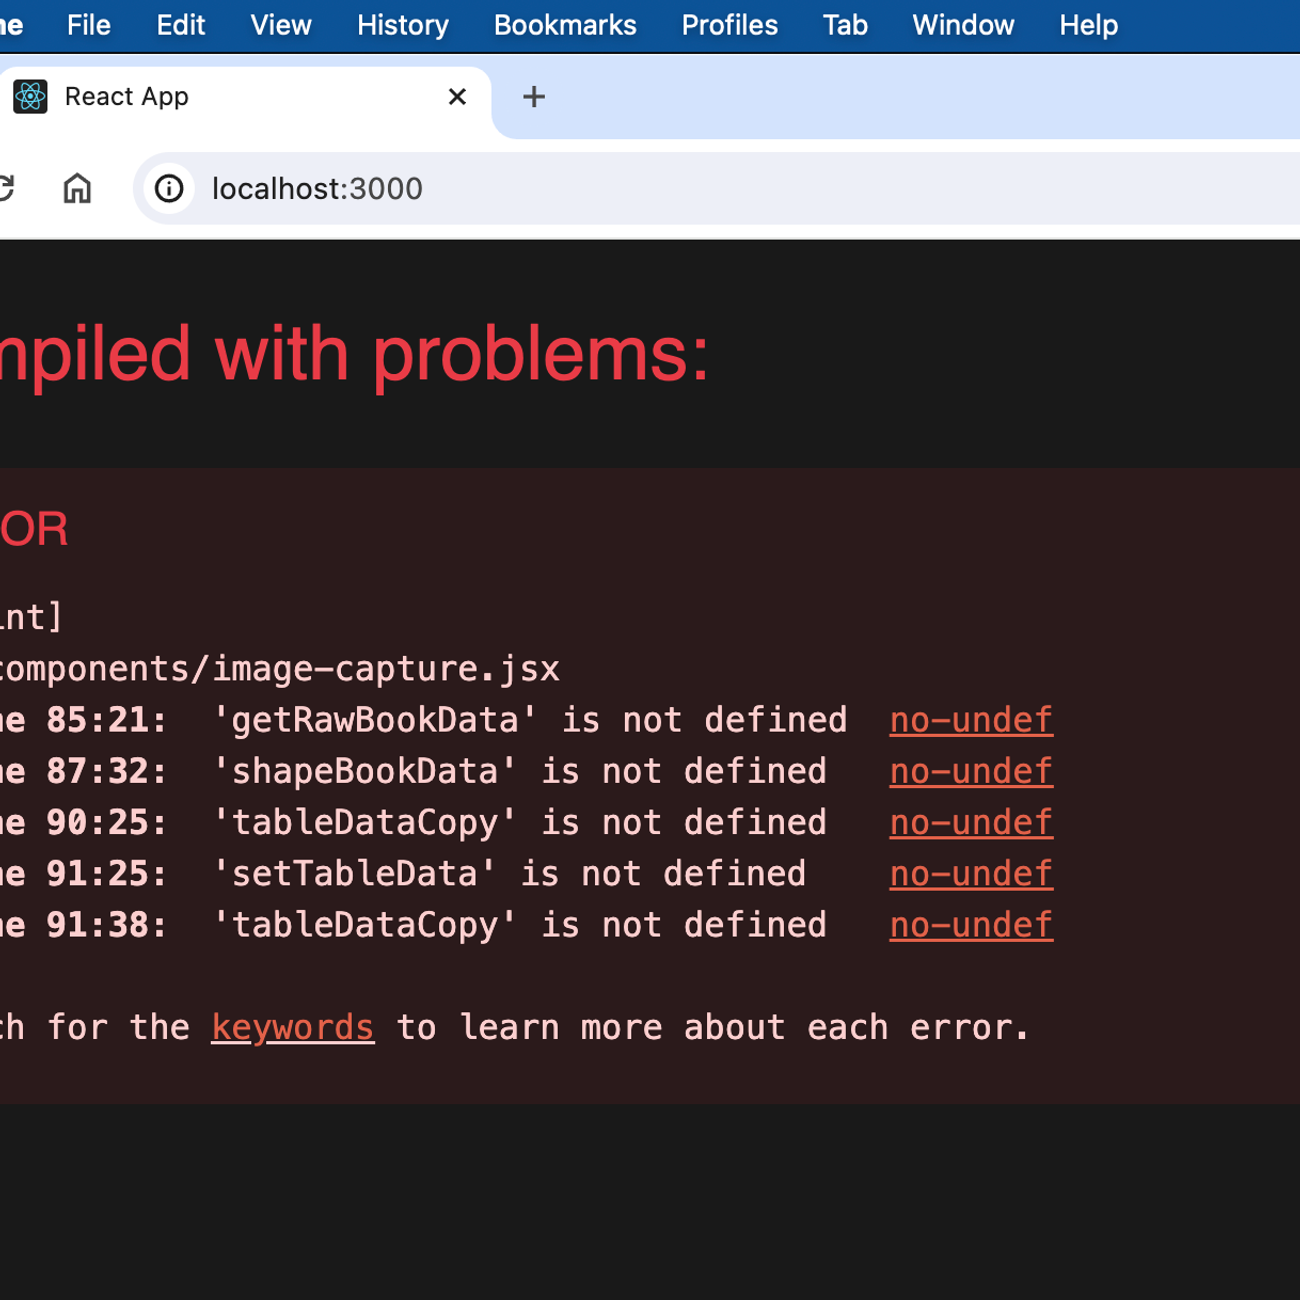
This is because we haven’t defined those functions yet. So let's write these new functions now:
async function getRawBookData(isbn) {
  // note: comma separated list of ISBNs is acceptable:
  // ISBN:${isbn},${isbn},${isbn}...
  let isbnStr = Array.isArray(isbn) ? isbn.join(',') : isbn;
  let url = `https://openlibrary.org/api/books?bibkeys=ISBN:${isbnStr}&jscmd=data&format=json`;

  const res = await fetch(url);
  const data = await res.json();

  return data;
};
getRawBookData essentially does what is says on the tin. Note the comments at the top: the API does accept multiple ISBNs in a single call. So if you were to just write the ISBN values onto the page, into a textarea or something similar, then post them to the API all at once, that would also work. There’s a limitation on how many characters are allowed in a URL and some of the other logic would need to better handle the returned value, but otherwise it might be a better method of handling this.
async function shapeBookData(data, isbn) {
  let d = data[`ISBN:${isbn}`];

  return {
    isbn: isbn,
    title: d.title,
    author: d.authors[0].name,
    yearPublished: d.publish_date,
    publisher: d.publishers[0].name,
  };
};
shapeBookData is also pretty straightforward. We’re taking in the values we just got back from the API and putting them in a better-defined object. Note that both authors and publishers are returned from Open Library as an array value, no matter how many there are for the title. I've again made an assumption that I only want the first item from those arrays returned. The same caveats exist here about making different decisions based on your situation.
Lastly, we push the object we just made into an array and pass that array to a React useState hook (setTableData(tableDataCopy);), which is in turn passed to a <table> where it's mapped over and put into table cells. You can see that code in the repo here.
(You’ll notice I’m actually passing a copy of the tableData state (defined earlier as const tableDataCopy = [...tableData];). This is to avoid rerenders that were causing me to lose access to the camera. I’m honestly not 100% sure what was going on, but this fixed it. If you have any ideas, please let me know, for sure.)
And here’s the final product, with some added styling:
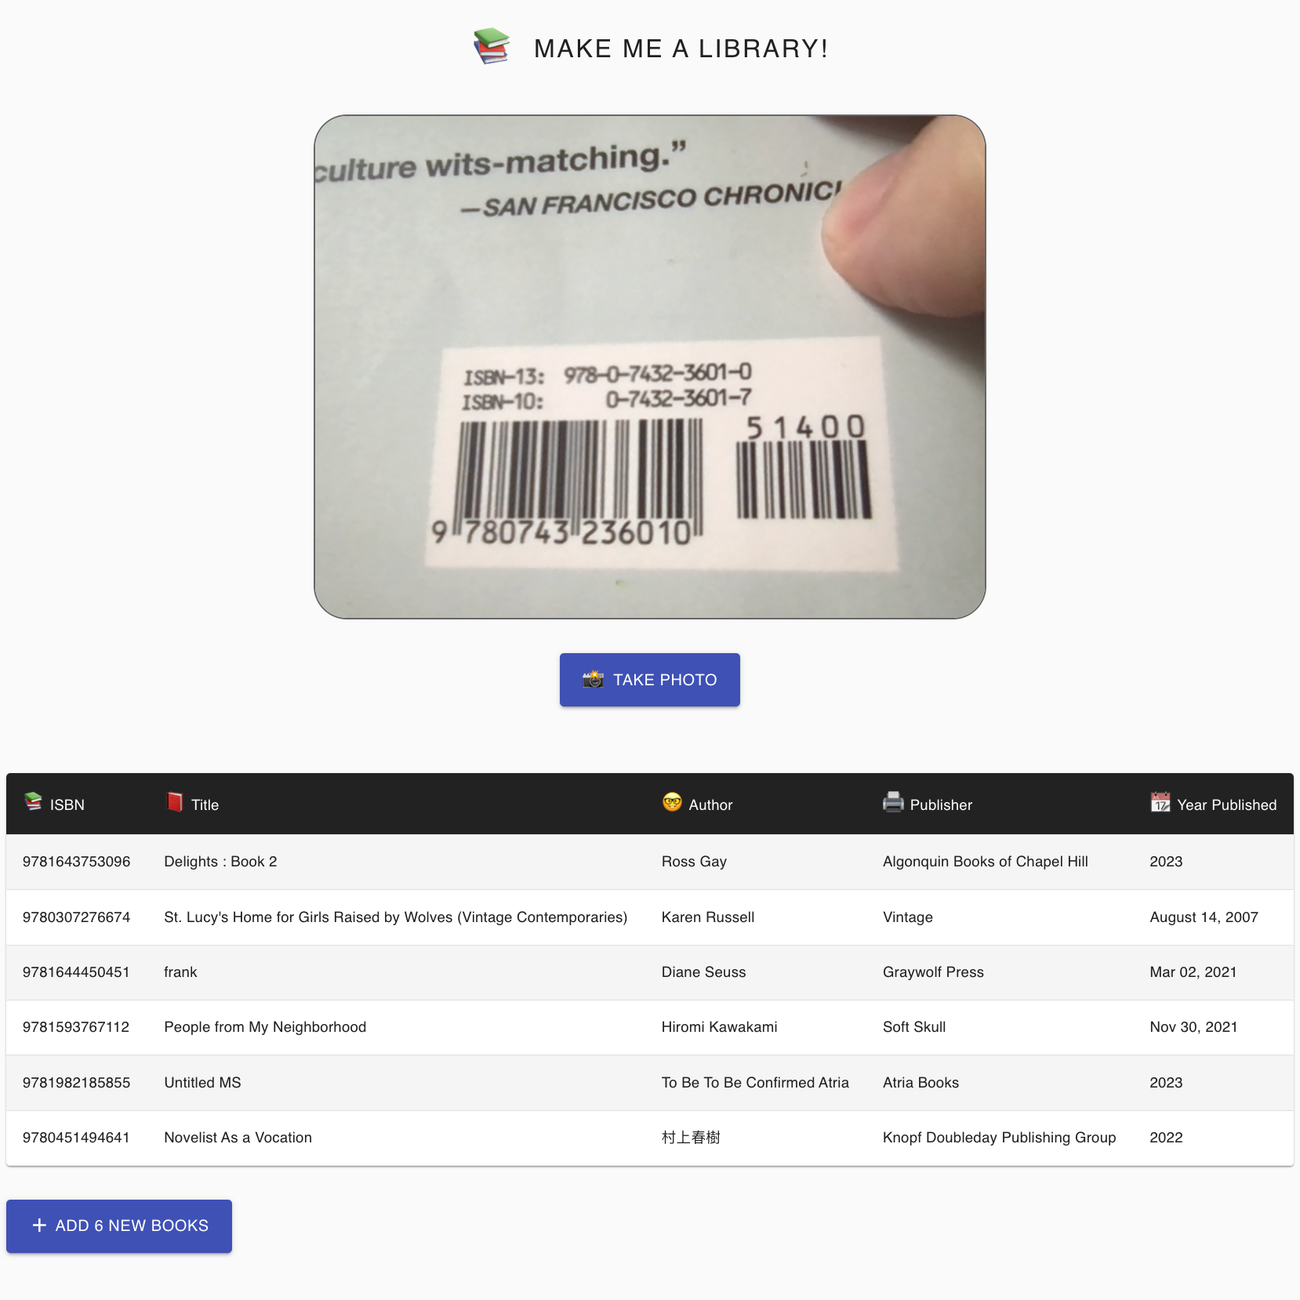
Wrapping Up
While amazing and free, the Open Library API obviously has some limitations. It doesn’t seem to have a lot of indie press titles, which are what the bulk of my/most all poetry books are. When it’s unable to find something, it returns empty. I haven’t yet done anything to handle this in the code, so it currently just fails silently. Certainly room for improvement there.
Also, in this demo the “Add x Books” just fakes a one second server roundtrip then pops up a success message. In reality, I grab all of the contents of the table and send them to an Airtable base. Then, once I know they're saved in the database, I clear out the table on the page. I haven’t included any of that in the repo, obviously, but you have all of the possible data available at that point, so you should feel free to do whatever you want with it—send it to a database as well, just save it to localStorage, pipe it to the Audio API and have it read back to you, sky’s the limit.
The best thing about working on the web right now is that there are both the tools and the browser capabilities to let us build most any wild idea we have with relative ease. This hasn’t always been the case, obviously. When I began my career in Twenty-something-something, a lot of ideas were just too hard—or plain impossible—to build on the web. There is a line over which we still can’t bring certain ideas to the web, no doubt, but that line is way, way farther away than it used to be. And that’s super exciting.